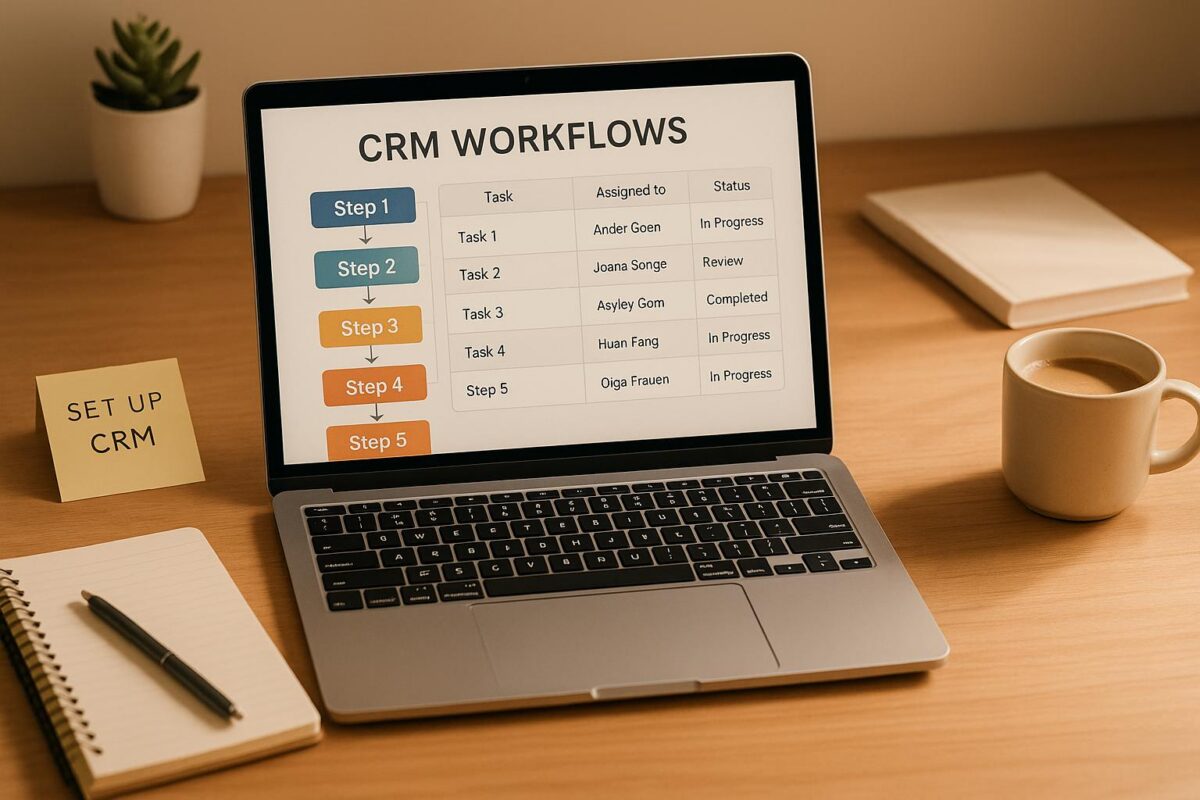
CRM workflows save your team time by automating repetitive tasks like data entry, follow-ups, and lead assignments. This guide breaks down how to set up workflows in five practical steps:
- Define Automation Goals: Identify tasks to automate (e.g., lead responses, follow-ups) and set measurable outcomes like faster response times or reduced manual work.
- Map Current Processes: Document your workflows, pinpoint bottlenecks, and identify triggers (e.g., form submissions or deal stage changes).
- Configure Tools: Use platforms like Zapier or n8n to connect your CRM, set triggers, and build workflows step-by-step. Standardize data formats and test each component.
- Test and Train: Run sample workflows to catch errors, then train your team on how automation changes their tasks.
- Monitor and Improve: Track metrics like response times and conversion rates. Use feedback and data to refine workflows over time.
CRM Workflow Automations | Introduction and How to Guide
Step 1: Define Your Automation Goals and Requirements
Start by setting clear goals for your automation efforts, ensuring they align with your business priorities. Pinpoint specific challenges within your current CRM processes where automation can make a difference. For example, are there delays in lead responses or inefficiencies in data entry? Define measurable outcomes to guide your approach, such as speeding up lead response times or reducing manual tasks.
Focus on automating tasks like lead response, follow-up sequences, and data entry. If your sales team struggles to respond quickly to new leads, consider automating lead assignment and initial outreach to ensure faster responses. Keep your goals measurable – rather than aiming to "improve customer experience", target specific metrics like boosting conversion rates, reducing administrative burdens, or maintaining consistent follow-ups.
When documenting your requirements, organize them into three main categories:
- Lead Management: Cover areas like lead scoring, assignment, and qualification.
- Communication: Include tasks like sending welcome emails, follow-ups, and nurture campaigns.
- Data Management: Focus on updating contact information, tracking deal progression, and logging activities.
Get all stakeholders on the same page. Sales managers need better pipeline visibility, sales reps want less administrative hassle, and marketing teams require clear performance data. Smooth customer handoffs should also be a priority.
Don’t forget compliance. Build in features like consent tracking, data retention policies, and audit trails to meet legal requirements from the start.
Take a phased approach to implementation. Begin with simple, high-impact processes and gradually introduce more advanced workflows as your team becomes comfortable with the system. Finally, set clear success metrics and schedule regular reviews to monitor progress and fine-tune your automation strategy.
Step 2: Map Your Current Workflow Processes
Before diving into automation, it’s essential to have a clear understanding of how your current processes function. Mapping out these workflows helps uncover bottlenecks, redundancies, and missed opportunities that might otherwise go unnoticed. Think of it as creating a blueprint for your business operations before making any changes.
Start by documenting every touchpoint in your customer journey – from the moment a lead enters your system to when they become a paying customer. Work closely with your team to record the actual steps taken at each stage. Many businesses find that their intended processes differ significantly from what’s happening in reality during this exercise.
Next, identify the triggers that kick off each workflow. These triggers might include actions like a lead submitting a form on your website, sending an email inquiry, requesting a demo, or moving to a specific stage in your sales pipeline. Define each trigger clearly. For example, a "new lead" could mean someone who filled out a contact form with a valid email address and company name.
For every trigger, outline the follow-up actions, specifying the timing and responsibilities involved. For instance, when a new lead comes in, your steps might include assigning it to a sales rep based on territory, sending a welcome email within 15 minutes, creating a follow-up task for the next business day, and updating the lead score based on company size. Be as detailed as possible about timing, roles, and conditions.
Visualizing these workflows is key. Use flowcharts to map out decision points and pathways. Basic shapes work well – rectangles for actions, diamonds for decisions, and circles for start or end points. Tools like Lucidchart, Draw.io, or even PowerPoint can help you create clear and understandable diagrams. The goal is to make your workflows easy to follow, not to create a masterpiece.
Pay close attention to conditional logic. Business processes rarely follow a straight line. For example, you might send different email sequences to enterprise leads versus small business leads, or assign leads based on geographic location or industry. Clearly document these "if-then" scenarios, as they’ll play a crucial role when setting up automation rules.
Involve your entire team to gather insights on challenges with leads and gaps in the process. Address exceptions, like how to handle unresponsive leads or inquiries that come in after hours. These scenarios often highlight areas where automation can make a big impact.
Also, document the data requirements for each step. Identify what information needs to be captured, updated, or passed between systems – such as contact details, lead sources, deal values, communication preferences, or any custom fields specific to your business. Understanding how data flows will help avoid integration headaches later.
Create a timeline view of your workflows to spot delays and bottlenecks. Track how long each step typically takes and where tasks tend to pile up. For instance, you might find that leads wait an average of four hours for an initial response or that proposals sit in review for days. These insights will guide your automation priorities.
Audit the tools you’re currently using and how they connect. List all the systems involved in your workflows – your CRM, email platform, website forms, phone system, project management tools, and any industry-specific software. Note how data moves between these systems and where manual work is still required.
Finally, test your workflow maps against real examples. Take recent deals and trace them through your documented processes. This step often reveals overlooked details or assumptions that don’t hold up in practice. Update your documentation based on these findings to ensure it’s accurate before moving to the next phase.
This detailed mapping process lays the groundwork for successful CRM workflow automation. Investing the time here ensures that the automation you build aligns with how your business actually operates, rather than forcing your team to adjust to poorly designed systems. With your workflows fully mapped, you’ll be ready to set up and connect your automation tools in Step 3.
Step 3: Set Up and Connect Your Automation Tools
Once your goals are clear and workflows are mapped out, the next step is to bring everything to life using automation tools. Start small by automating basic tasks, and gradually introduce more complex processes as you go.
Pick the right automation platform based on your technical needs and team expertise. SixtySixTen offers solutions using tools like n8n, Zapier, Make.com, Clay.com, and Trigify, as well as custom-built options for unique requirements. Your choice will depend on factors like budget, integration complexity, and whether off-the-shelf tools can handle your specific needs.
Set up your triggers to define when workflows kick off. For example, in a CRM, triggers might include a new lead being created, a change in deal stage, an email being opened, or a form being submitted. Be precise with your conditions. Instead of triggering workflows for "any new contact", try something more specific like "new contact with a lead score above 50" or "new contact from a company with over 100 employees."
Connect your data sources to ensure smooth information transfer between systems. Start with web forms, which are often the entry point for leads. Make sure your forms capture key details like company name, industry, employee count, and budget. Align form field names with CRM field names to avoid mapping issues. For instance, if your CRM uses "Company_Size" as a field, your web form should use the same name.
Standardize data formatting across your automation setup. Use U.S. formats for dates (MM/DD/YYYY), currency ($1,234.56), and phone numbers ((555) 123-4567). Set up validation rules to catch formatting errors before they disrupt your workflows.
Build your workflows step by step, testing each component before moving on to the next. Begin with simple actions like creating records, sending emails, or updating fields. For example, when a new enterprise lead is added, you might start by creating a contact record, assigning it to the right sales rep, and sending an acknowledgment email.
Use conditional logic to handle different scenarios. Set up if-then rules to create branching workflows. For instance, enterprise leads could be routed to one email sequence, while small business leads follow another.
Integrate your email system carefully to ensure professional communication. Use email templates that auto-fill with key data and include fallback text to avoid errors. Test your emails across different clients to ensure they display correctly.
Connect your phone system to automate call logging, create follow-up tasks, and even transcribe voicemails. This integration ensures complete visibility into customer interactions and prevents any missed communication.
Enrich your data during the automation process to provide your team with better insights. Tools like Clay.com can automatically add useful details about leads, such as company revenue, employee count, or recent news. This happens in real-time, giving your sales team valuable context for outreach.
Plan for error handling to address issues like missing data, failed API calls, or system downtime. For instance, if your email system is temporarily down, configure the workflow to queue emails for later delivery instead of losing them.
Set up notifications to keep your team updated. Alerts for high-value leads, urgent tasks, or workflow errors can be sent to Slack, email, or even SMS for critical situations.
Test your setup thoroughly before going live. Run test leads through the entire workflow to ensure data flows correctly and all field mappings are accurate.
Link reporting tools like Google Looker or PowerBI to track performance. Monitor metrics such as response times, conversion rates, and workflow bottlenecks in real-time to identify areas for improvement.
Document your setup as you go. Keep records of API keys, webhook URLs, field mappings, and any custom logic. Include screenshots and notes explaining your decisions. This documentation will save time when troubleshooting or updating workflows later.
A well-planned setup, typically completed within 2-4 weeks, can quickly streamline your sales and customer management processes. Start with the essentials and focus on making your core workflows run smoothly before diving into advanced features or more complex logic.
sbb-itb-647c22e
Step 4: Test Your Workflows and Train Your Team
Before launching your CRM workflows, it’s crucial to test everything thoroughly. This helps catch errors, ensures smooth operations, and avoids disruptions. Start by running controlled tests with sample data that closely reflects the real-world scenarios your team deals with daily. For example, create test leads that include key characteristics and use them to verify how your automation responds.
Simulate complete workflows from start to finish. This means triggering typical actions like submitting test forms on your website, moving deals through pipeline stages, and activating email sequences. Pay attention to how the system reacts at each step.
Don’t forget to test edge cases – those less common but still possible scenarios. For instance, what happens if a lead is missing crucial information like a company name? Or if a contact comes from a region not yet in your database? Also, consider how your workflows handle temporary issues, like failed API calls or unavailable third-party services. Your system should remain stable, avoid creating duplicate records, and retain data integrity in these situations.
As you test, track the sample records throughout the system to confirm accuracy. Check that data like phone numbers, dates, and currency values follow U.S. formatting standards. Verify that lead scoring works as intended and that assignment rules send leads to the correct sales reps based on your criteria. Monitor the timing of processes to identify any delays or bottlenecks, and address them to keep things running efficiently.
Document any issues you encounter during testing, along with their solutions. This documentation will be invaluable for training your team and making future improvements. A checklist can also help you stay organized – covering key elements like email templates, system integrations, reporting metrics, and notification functions.
Once testing is complete, shift your focus to training your team. Start with demonstrations to show how the new workflows will impact their daily tasks. For example, walk sales reps through the updated lead assignment process, explain ticket routing to customer service teams, and help managers understand how to use automated reports and dashboards.
Make sure your team knows what tasks the automation will handle and where manual intervention might still be needed. Provide role-specific training materials written in plain language, avoiding technical jargon. Quick reference guides can also be helpful for answering common questions and reinforcing new processes.
Give your team hands-on practice with the workflows. Let them process test leads, update deal stages, and trigger automated sequences in a safe environment that won’t affect live data. This builds confidence and helps identify any remaining training gaps.
Set up clear escalation procedures for when automated workflows need human oversight. Train your team to recognize when manual review is necessary, how to override automation when needed, and who to contact if they encounter issues.
Roll out the new system gradually to avoid overwhelming your team. Start with simpler automations, like lead capture, and then introduce more advanced features, such as lead scoring and detailed reporting, over time. This phased approach allows your team to adjust without disrupting daily operations.
During the rollout, schedule regular check-ins to address questions, gather feedback, and fine-tune workflows based on real-world use. These check-ins help ensure a smooth transition and allow you to make adjustments as needed.
Step 5: Track Performance and Make Improvements
Once your CRM workflows are up and running, the work doesn’t stop there. To ensure your automation keeps delivering results and adapts to your business’s evolving needs, regular performance tracking and fine-tuning are essential. Building on the setup and testing phases, this step focuses on maintaining efficiency and addressing any gaps.
Start by defining key performance indicators (KPIs) that align with your automation goals. For example, monitor lead response times to ensure inquiries are handled and assigned promptly. Keep an eye on deal velocity to see how quickly opportunities move through your pipeline. Conversion rates at different stages can reveal where prospects might be dropping off, helping you identify areas for improvement.
Pay attention to data quality metrics as well. Issues like duplicate records, incomplete lead details, or failed integrations can hurt productivity. Setting up automated alerts for when metrics fall outside acceptable ranges allows you to tackle problems before they escalate.
Conduct monthly performance reviews to dive deeper into your workflow data. Use these reviews to uncover bottlenecks, analyze lead sources, and track conversion rates by channel. Seasonal trends might also emerge – for instance, B2B leads converting better on weekdays or consumer inquiries spiking on weekends. These insights can guide adjustments to your assignment rules or response timing. Additionally, ensure your workflows remain compliant with data privacy regulations, especially if you’re expanding into new markets or working with new data sources.
Team feedback is another invaluable resource for refining workflows. Sales reps can provide insights into whether lead scoring accurately reflects prospect quality, while customer service teams can highlight recurring issues that automation might solve. To keep this feedback loop active, schedule quarterly sessions to gather input and prioritize updates.
As your business evolves, new automation opportunities may arise. Maybe some manual tasks have crept back into daily routines, or new tools have become available that could simplify processes. Document these opportunities and weigh their potential impact against the effort required to implement them.
This is where SixtySixTen’s ongoing support can make a big difference. As your business grows and your needs become more complex, having access to engineering-backed expertise ensures you can make sophisticated improvements without disrupting existing workflows. Whether it’s implementing custom AI agents for advanced lead scoring or integrating with new software platforms, professional guidance helps your automation scale with your business.
With more data and insights over time, you can take optimization even further. For instance, A/B testing can help refine email sequences, lead scoring models, or assignment rules. Run these tests for at least 30 days to gather enough data for meaningful conclusions, then roll out the most effective variations.
Finally, set up real-time reporting dashboards to keep tabs on your workflows. These dashboards should present your key metrics in a clear, accessible format, making it easy to spot trends or issues at a glance. Include both high-level overviews for executives and detailed breakdowns for operational teams.
Conclusion
CRM workflows transform how businesses handle customer management and sales. By following the five steps outlined in this guide – defining goals, mapping processes, configuring tools, testing and training, and monitoring performance – you can create a system that boosts efficiency and drives growth.
These steps work together to reduce manual tasks and errors. Starting with clear goals and mapping existing processes helps identify inefficiencies that automation can address. Every workflow is designed to meet a specific business need, while proper tool configuration ensures smooth data flow across systems.
Testing and training are crucial for success. Your sales and customer service teams need to understand how automation changes their daily tasks and how to make the most of its features. This preparation sets the stage for the final and ongoing phase: performance monitoring and improvement.
The real power of CRM workflows lies in continuous monitoring. Business conditions are always evolving – customer preferences shift, markets change, and new opportunities emerge. Regular performance reviews help pinpoint gaps and fine-tune workflows to keep them effective.
"With CRM, ‘set it and forget it’ isn’t the best approach." – Nutshell
When done right, CRM automation delivers faster lead responses, improved conversion rates, and cleaner data. Over time, these benefits add up, enhancing productivity and driving revenue growth. Teams can focus more on building relationships and crafting strategies, while accurate data supports smarter decision-making.
SixtySixTen offers engineering-driven solutions to ensure smooth implementation and ongoing success. Whether you need custom AI tools for lead scoring, complex platform integrations, or long-term optimization, expert support helps you avoid common pitfalls and get the most from your investment. As your business grows, tailored no-code options and custom development ensure your workflows evolve with your needs.
Each phase of CRM workflow automation builds toward a scalable, efficient system. Start small – focus on one or two key processes to prove the value – and then expand your automation strategy across your entire revenue operation. With well-designed workflows, you can enhance efficiency, improve customer experiences, and set the stage for lasting growth.
FAQs
What challenges do businesses often face when setting up CRM workflows, and how can they overcome them?
Businesses often face hurdles such as inaccurate data, limited user engagement, and integration headaches when implementing CRM workflows. These issues can throw a wrench into operations and derail automation goals.
To tackle these obstacles, begin by keeping your data clean and up-to-date. Make it a priority to train your team effectively, showing them how CRM tools can make their work easier and more impactful. Lastly, opt for a CRM system that works smoothly with your current tools and processes, making the setup process less stressful and more efficient.
How can businesses keep their CRM workflows compliant with data privacy laws?
To keep CRM workflows aligned with data privacy laws, businesses need to take several key actions. Start by enforcing strict access controls, conducting regular audits, and encrypting sensitive information. These measures are critical for safeguarding customer data and upholding privacy standards.
It’s also important to establish clear privacy policies, provide employees with training on proper data handling practices, and stay informed about regulations such as GDPR and CCPA. Regularly reviewing and updating workflows ensures that your processes remain compliant as legal requirements evolve.
What are the best practices for integrating automation tools with your CRM?
To make automation tools work seamlessly with your CRM, the first step is to define your objectives. Be clear about which tasks you want to simplify or enhance – this clarity will guide the entire process. Next, select the best integration approach, whether through APIs or built-in connectors, to ensure that your systems communicate effectively and without glitches.
Before going live, conduct extensive testing to catch and fix any problems early on. This step is essential for a smooth rollout. Keep your data accurate and secure by performing regular audits and staying compliant with privacy regulations. Lastly, prioritize training your team. Equip them with the knowledge they need to use the new tools efficiently, so you can make the most out of your automation setup.